
Baked apple chips are a healthy and tasty snack that is easy to make at home. They are a great alternative to sugary snacks and provide a satisfying crunch. Plus, making your own apple chips means you can choose your favorite type of apple and control the amount of sweetness and spices. These chips are perfect for munching on during movie nights, as a lunchbox treat, or as a guilt-free snack any time of the day.
How to Make Baked Apple Chips
Ingredients
-
2 large apples
-
1 tsp cinnamon
-
1 tbsp sugar (optional)
Directions
-
Preheat the oven to 200°F (93°C).
-
Thinly slice the apples using a mandoline or a sharp knife.
-
Remove seeds from the slices.
-
In a bowl, mix the slices with cinnamon and sugar (if using).
-
Place the apple slices in a single layer on baking sheets lined with parchment paper.
-
Bake for 1.5 to 2 hours, flipping halfway through, until crispy.
-
Let the apple chips cool and store them in an airtight container.
How to Serve Baked Apple Chips
Baked apple chips can be served on their own as a crispy snack. You can also pair them with yogurt or nut butter for a delicious treat. They make a great addition to salads or can be used as a topping for oatmeal and cereal. Enjoy them as a healthy snack option for kids and adults alike!
How to Store Baked Apple Chips
To keep your baked apple chips fresh, store them in an airtight container at room temperature. If stored properly, they can last for up to a week. Make sure the chips are completely cooled before sealing them to prevent moisture from making them soft.
Tips to Make Baked Apple Chips
-
To get the best results, slice the apples as thinly and evenly as possible. A mandoline slice is ideal for uniform thickness.
-
You can experiment with different spices like nutmeg or ginger for added flavor.
-
If you prefer a sweeter taste, increase the amount of sugar or try adding honey or maple syrup instead.
-
Keep an eye on the chips while baking; every oven is different, and some may take less time to crisp up.
Variation
You can use different types of apples depending on your preference. Granny Smith apples provide a tart taste, while Fuji or Honeycrisp apples offer sweetness. Consider adding a pinch of salt for a sweet-and-salty combination or trying other fruits like pears or bananas for different flavors.
FAQs
Can I use pre-sliced apples?
It’s best to slice the apples fresh for the best texture and flavor. Pre-sliced apples may not bake as well and might lose their crispness.
Can I make these chips in a dehydrator?
Yes, you can use a dehydrator. Set it to 135°F (57°C) and allow the apples to dry for 6-8 hours, or until they’re crispy.
What if I don’t have cinnamon?
No problem! You can skip the cinnamon or replace it with other spices like pumpkin pie spice or even just enjoy the apple chips plain.
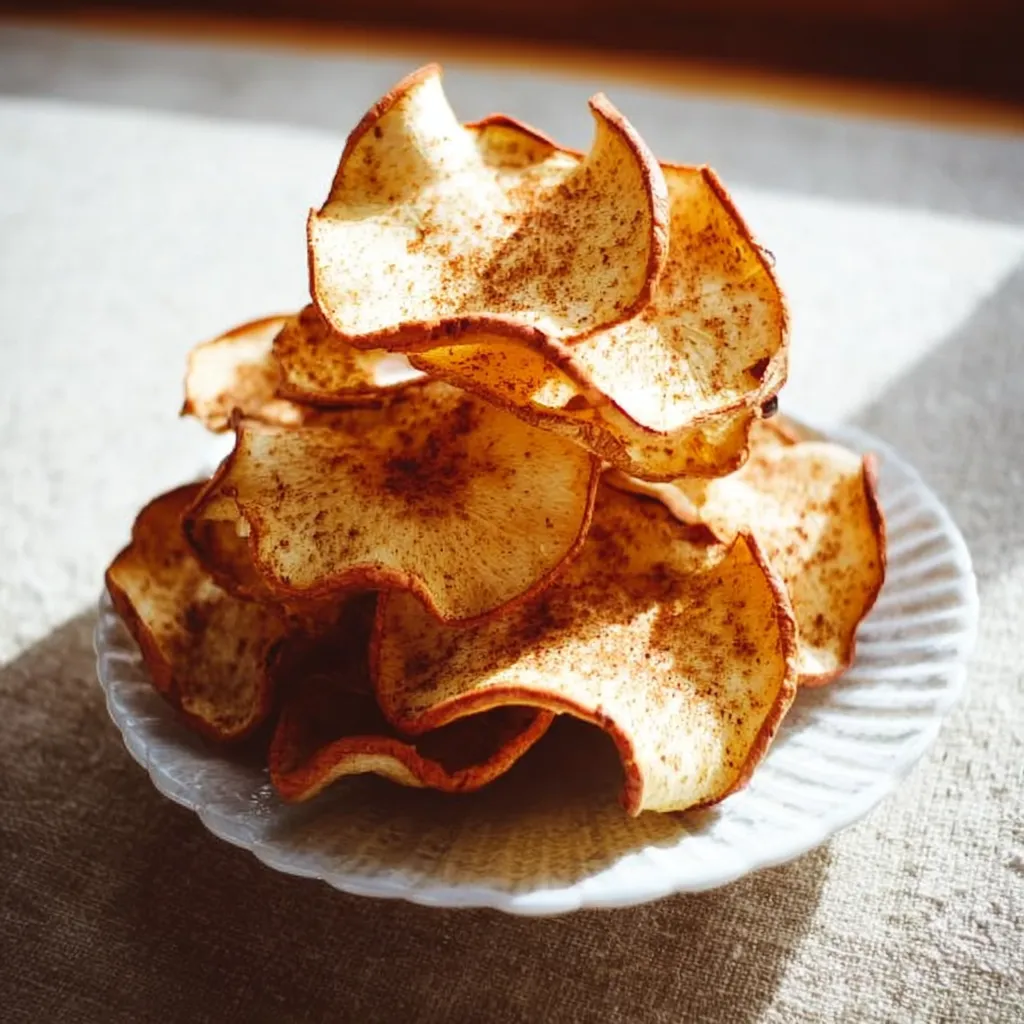
Healthy Baked Apple Chips for Snacking
Ingredients
Method
- Preheat the oven to 200°F (93°C).
- Thinly slice the apples using a mandoline or a sharp knife.
- Remove seeds from the slices.
- In a bowl, mix the slices with cinnamon and sugar (if using).
- Place the apple slices in a single layer on baking sheets lined with parchment paper.
- Bake for 1.5 to 2 hours, flipping halfway through, until crispy.
- Let the apple chips cool and store them in an airtight container.